Rules for drafting templates |


|
|
Follow these instructions to create a correct Word template and prevent XML node text splitting:
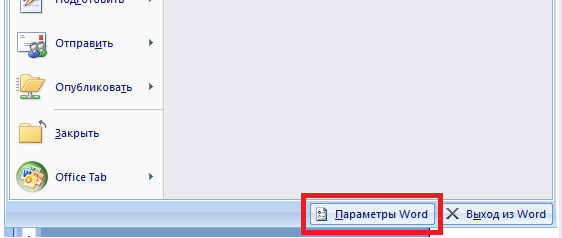
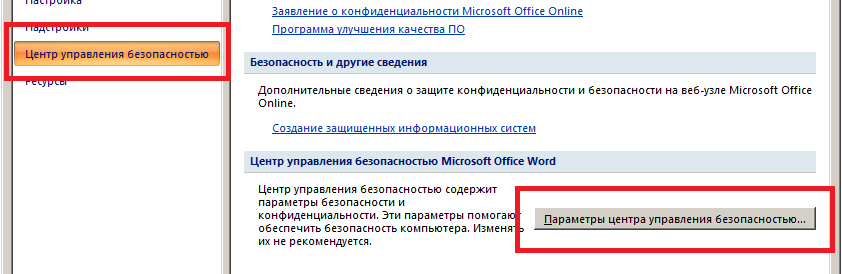
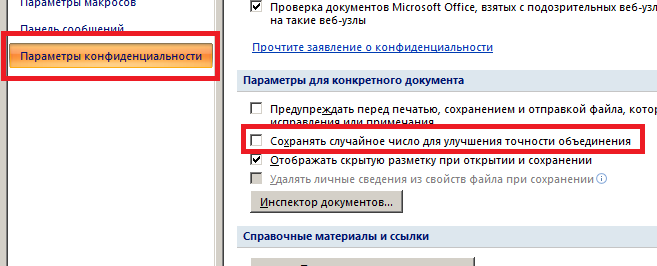
1. Disabling automatic document filling with random numbers 1.1 Open Microsoft Word. 1.2 Click the File button in the upper left corner. 1.3 Select Options at the bottom of the menu. 1.4 In the Word Options window, select Trust Center. 1.5 Click Trust Center Settings... 1.6 Go to the Privacy Options tab. 1.7 Uncheck the option Store random number to improve merge accuracy. 1.8 Click OK to save changes.
2. Language and spell check settings
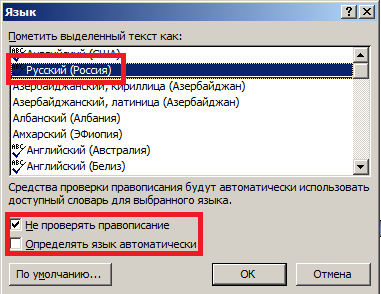
2.1 Disabling spell check: — Select all text (CTRL+A). — Go to the Review tab. — Click Language → Set Language Preferences — In the opened window, uncheck the following items:
2.2 Setting a unified language: — In the Review tab, click Language → Set Proofing Language while keeping all text selected (CTRL+A). — Select Russian (or desired main document language). — Click Set As Default to apply to entire document. — Click OK.
2.3 Assigning English language to markers: — Select each marker in #MARKER# format — In the Review tab, click Language → Set Proofing Language. — Select English (United States). — Click OK.
2.4 Before saving: — Verify all markers have English language set. — Ensure main text has the correct language. — Check for absence of spelling error underlines. — Save document in .docx format.
3. Adding markers to the template: 3.1 Open Notepad. 3.2 Write the required marker in #MARKER# format. 3.3 Copy the marker (Copy). 3.4 Paste the marker into the Word template (Paste).
Important! Do not type markers directly from the keyboard in the Word document.
4. Working with complex tables When creating tables with merged cells in the header section, use one of the following approaches:
Option 1: 1. Create separate templates for the header and content parts of the table. 2. Combine the templates after configuring each part.
The translation maintains the same structure and formatting as the original text, preserving the numbered steps and important notes. The technical terms are accurately translated while keeping their meaning clear and precise.
Template 1
Template 2
Option 2: 1. Determine the maximum number of columns in the content section. 2. Ensure that the number of columns in the header section does not exceed this value. 3. When merging cells in the header, make sure the outer borders align with the column borders of the content section.
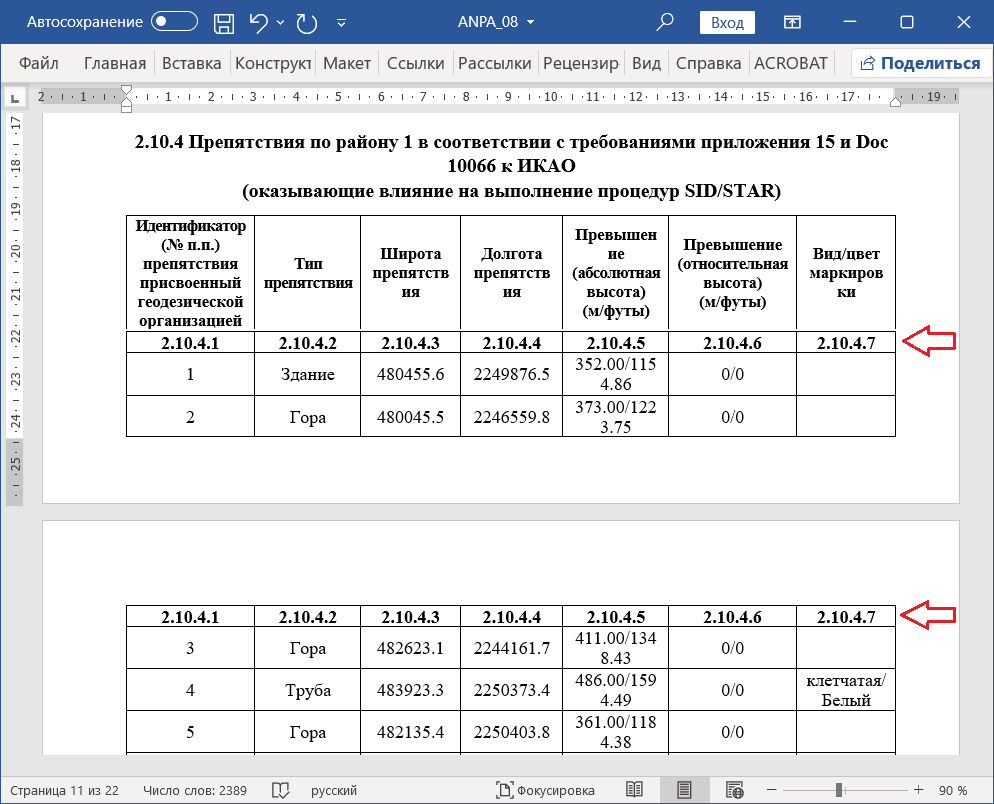
5. Setting up repeating table headers
To create a header row that repeats on each page: 5.1 Create a table. 5.2 Position the cursor on the second row.
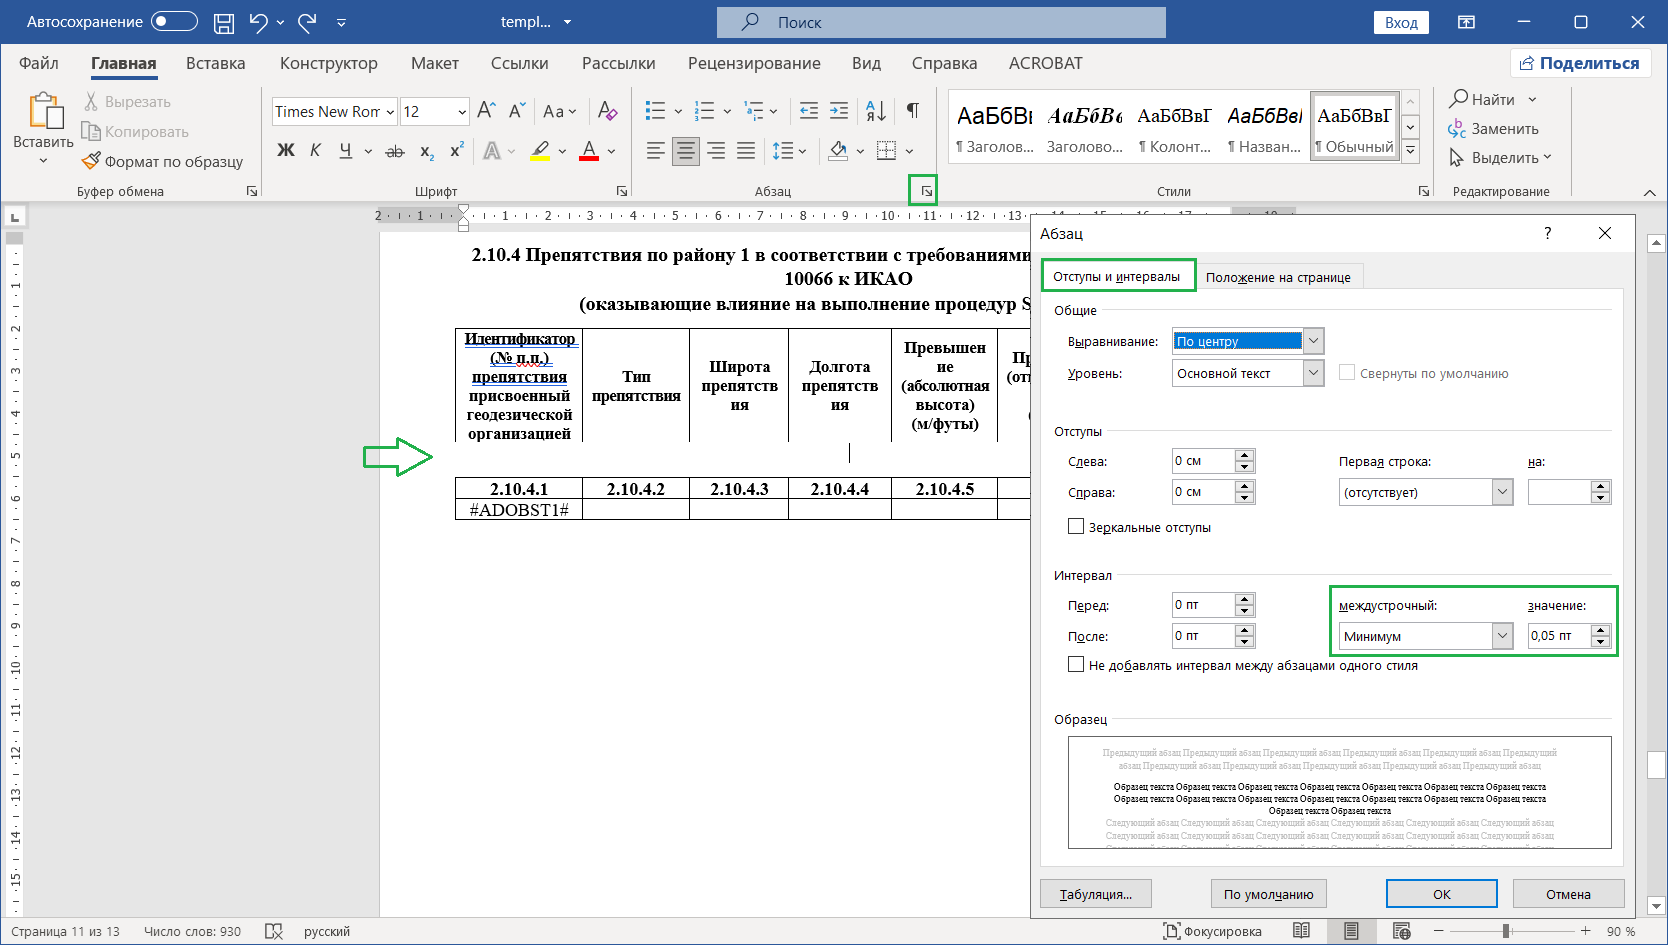
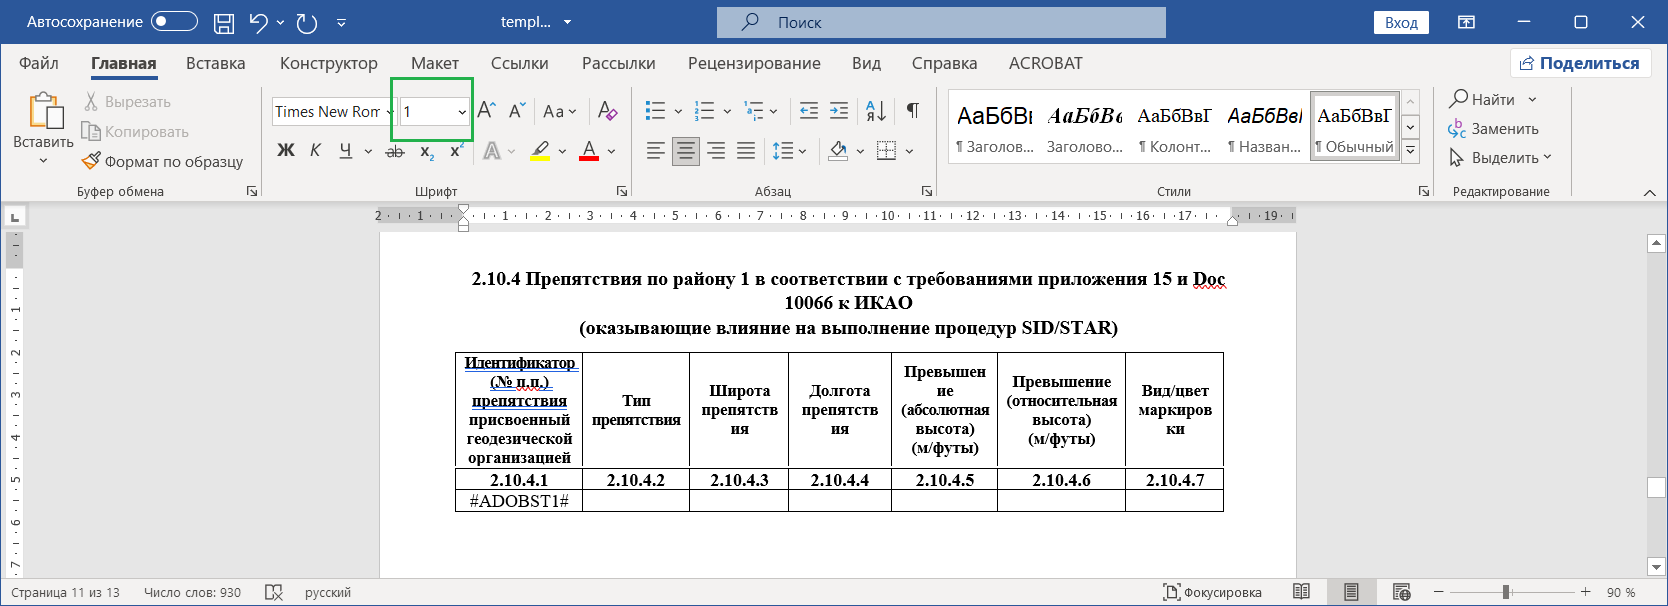
5.3 Go to Layout → Split Table.
5.4 In the gap between the split parts: • Set line spacing to "minimum" with a value of 0.05. • Set font size to 1 pt.
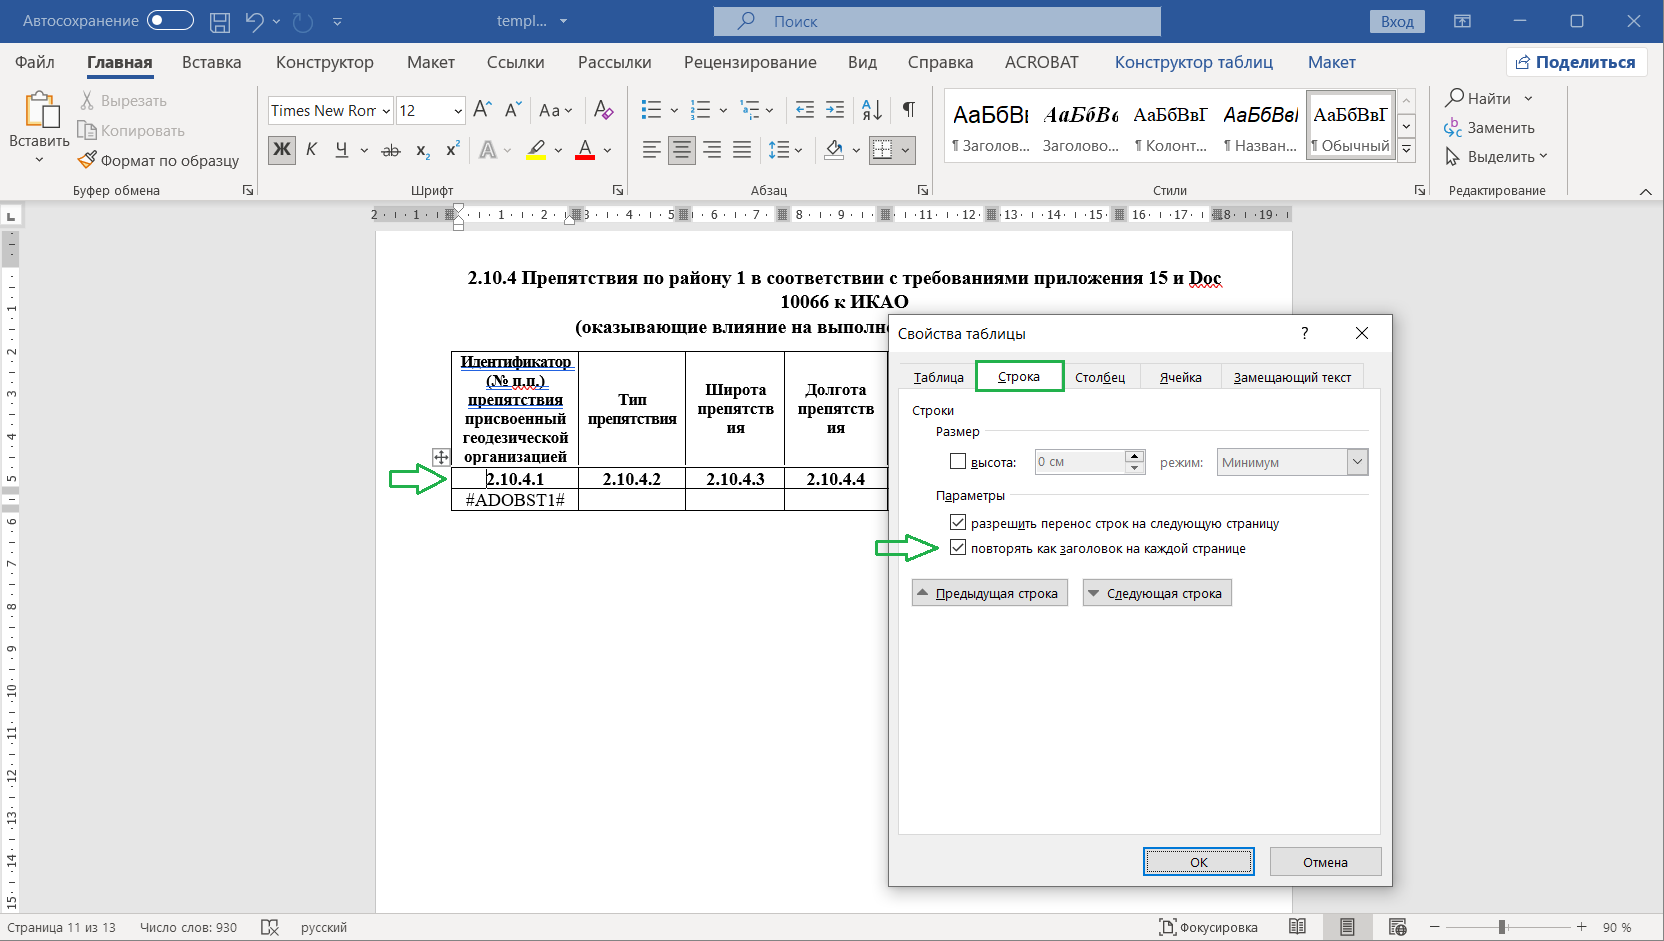
5.5 Position the mouse cursor on the "2.10.4.1" row 5.6 In the table properties, on the Row tab, activate the option repeat as header on each page.
6. Inserting legend symbols
Important! For correct handling of the legend symbols: • Use only Insert → Pictures command. • Do not use Copy/Paste operations. • Incorrect insertion of images may result in unreadable report files.
7. Saving the document
• Save the template in Word Document format (*.docx). • Verify the correct format is selected before saving. | ||||||||||||||||||||||||||||||||||||||||||||||||||