Operation procedure at connecting embedded GPS\GLONASS devices |


|
|
Connecting the embedded GPS\GLONASS devices is implemented using the Sensorand Location platform technology for OS Windows 7 operating system and later.
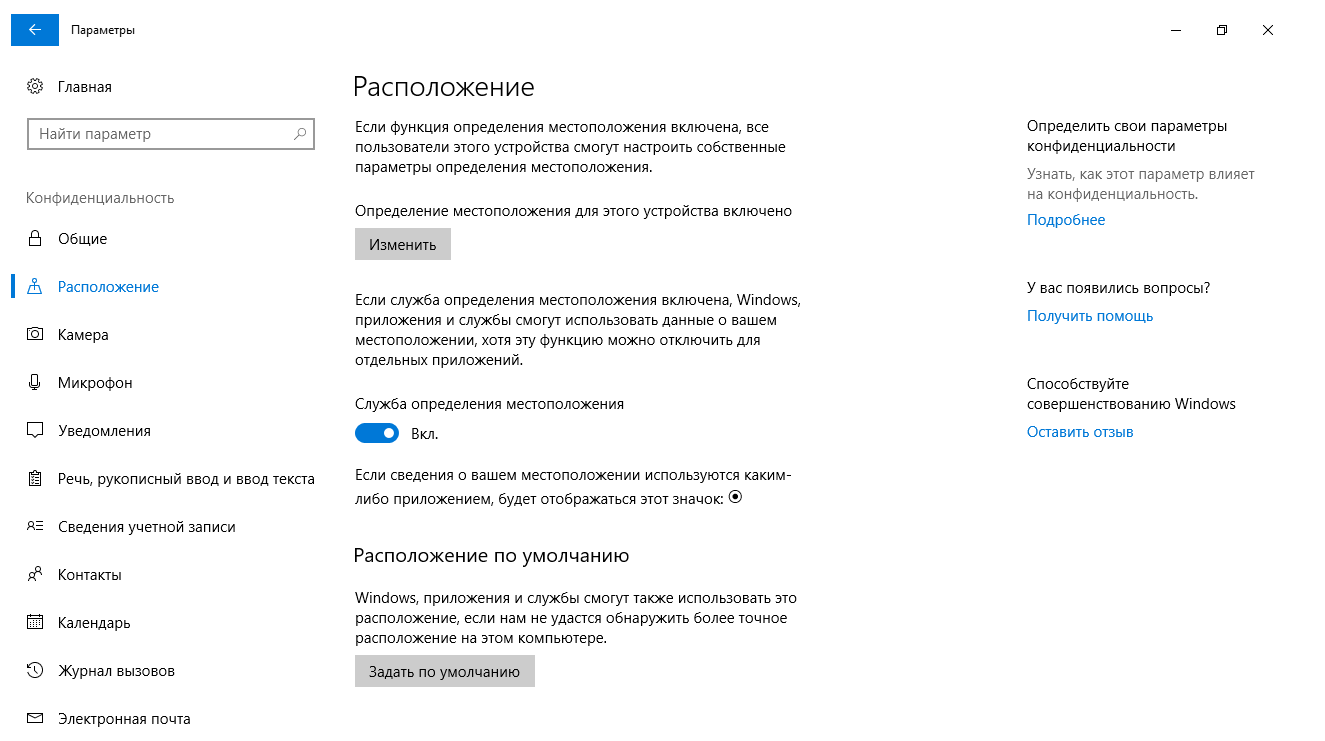
1. Turn on the computer. 2. Turn on the embedded GPS/GLONASS device in the operating system. If necessary, install the device driver.
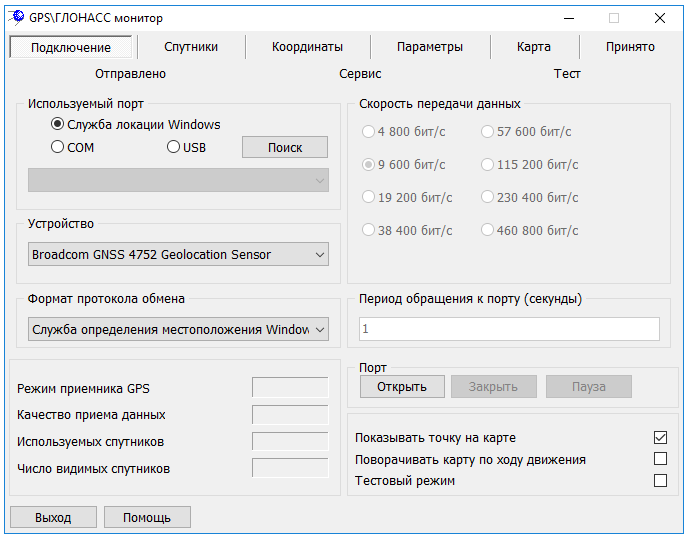
3. In the GPS\GLONASS Monitor dialog, specify the Windows Locating Service radio button in the Used port group. The program will automatically try to determine the embedded GPS\GLONASS sensors. The list of detected embedded devices is formed in the Device group.
4. Choose your GPS sensor in the list of embedded devices. If you could not find the device in the list, check the operating system security policy settings, the correctness of the device driver installation and try again by clicking the Autodetect button. 5. Set the Update rate for requesting information from the device. By default, the Update rate to the port is equal to the 1 second. 6. At the bottom of the dialog, click on the Open button. When this happens, the interfaces of the Sensorand Location platform are accessed and connection with the embedded GPS device is established.
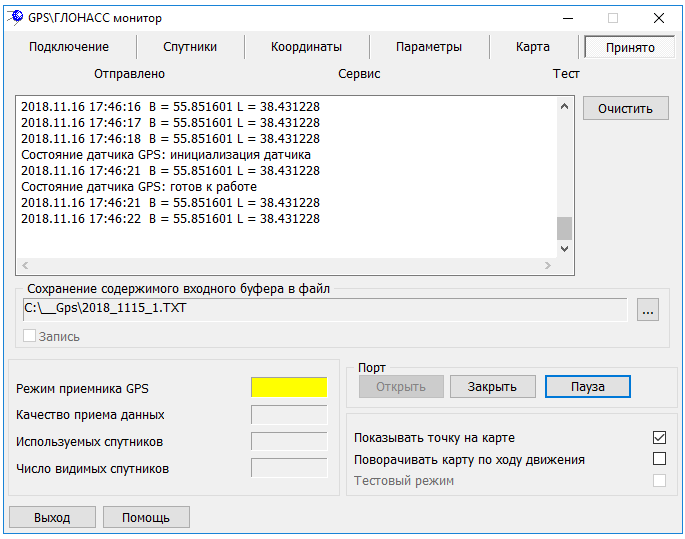
After performing the above actions on the Input bookmark, information on the status of the embedded device is displayed. The Coordinates bookmark displays the coordinates of the point transmitted by the GPS receiver.
The mode was tested on a KREZ tablet computer with a built-in sensor for determining GPS coordinates on OS Windows 10 x32.
|